A Benchtop Workbench, Part I
So…….a bench atop a bench, right. Right.
My little workshop bench doesn’t have a good vise so my options are to build a woodworking vise or build a small, portable workbench with a good woodworking vise. I need this and I figure I can probably do it for less than twice the price on line, so it meets my criteria for projects. My favorite Aussie YouTube carpenter has a great video of his solution and, of course, a set of plans. 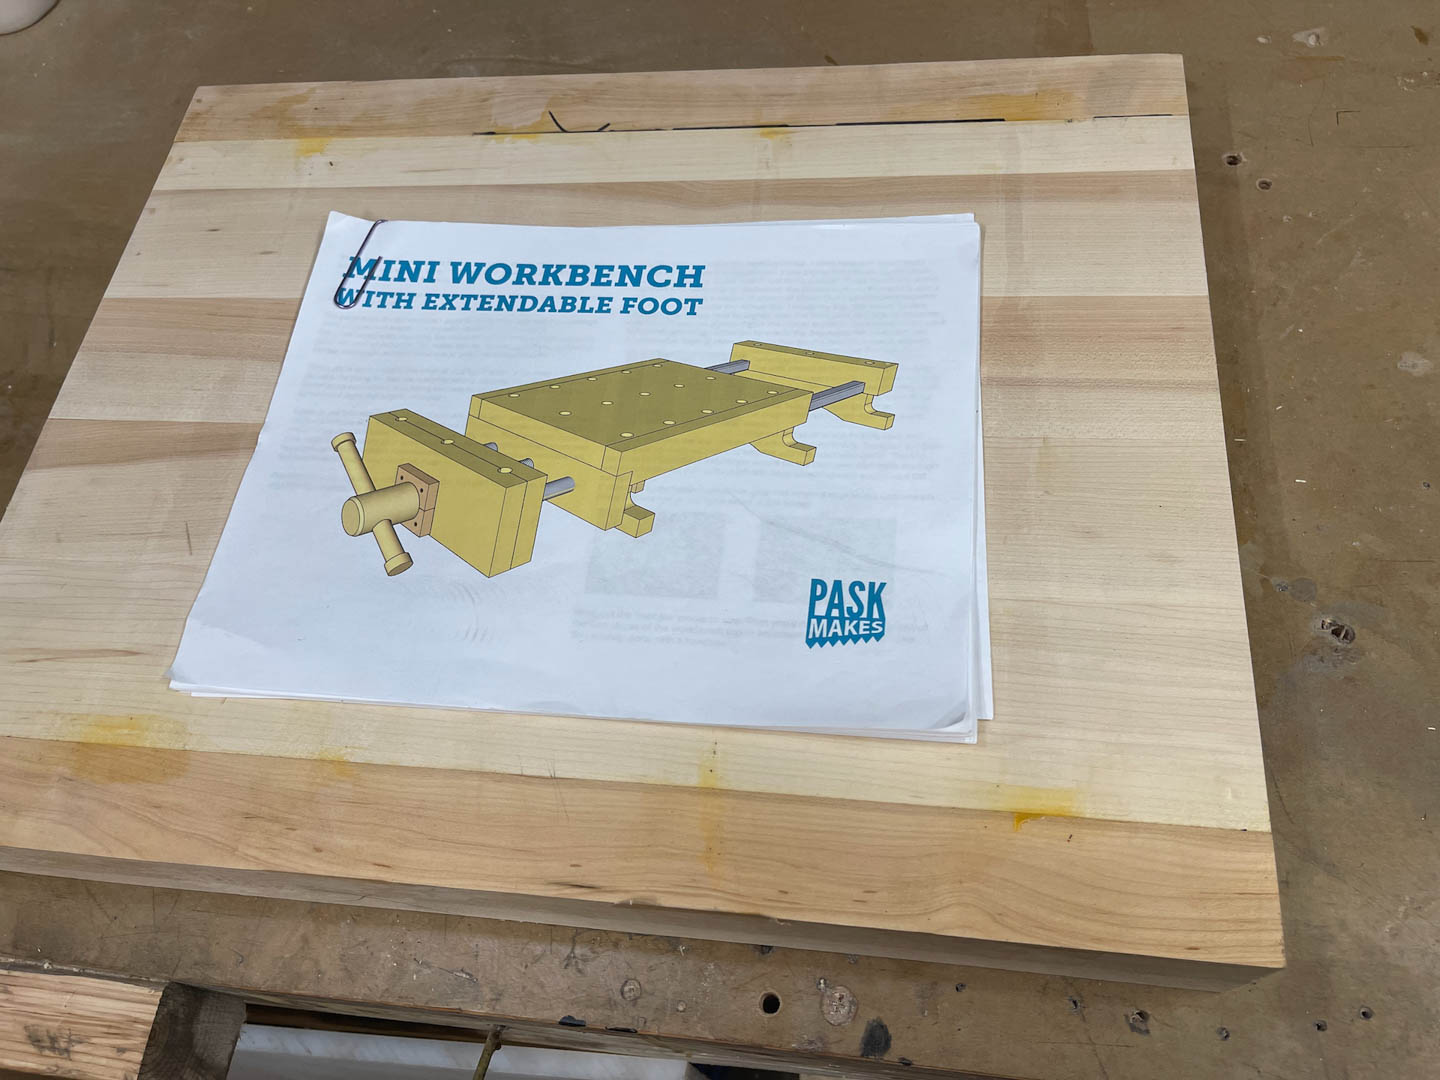
Also, a separate set of plans for the vise mechanism. So I’ll start there. 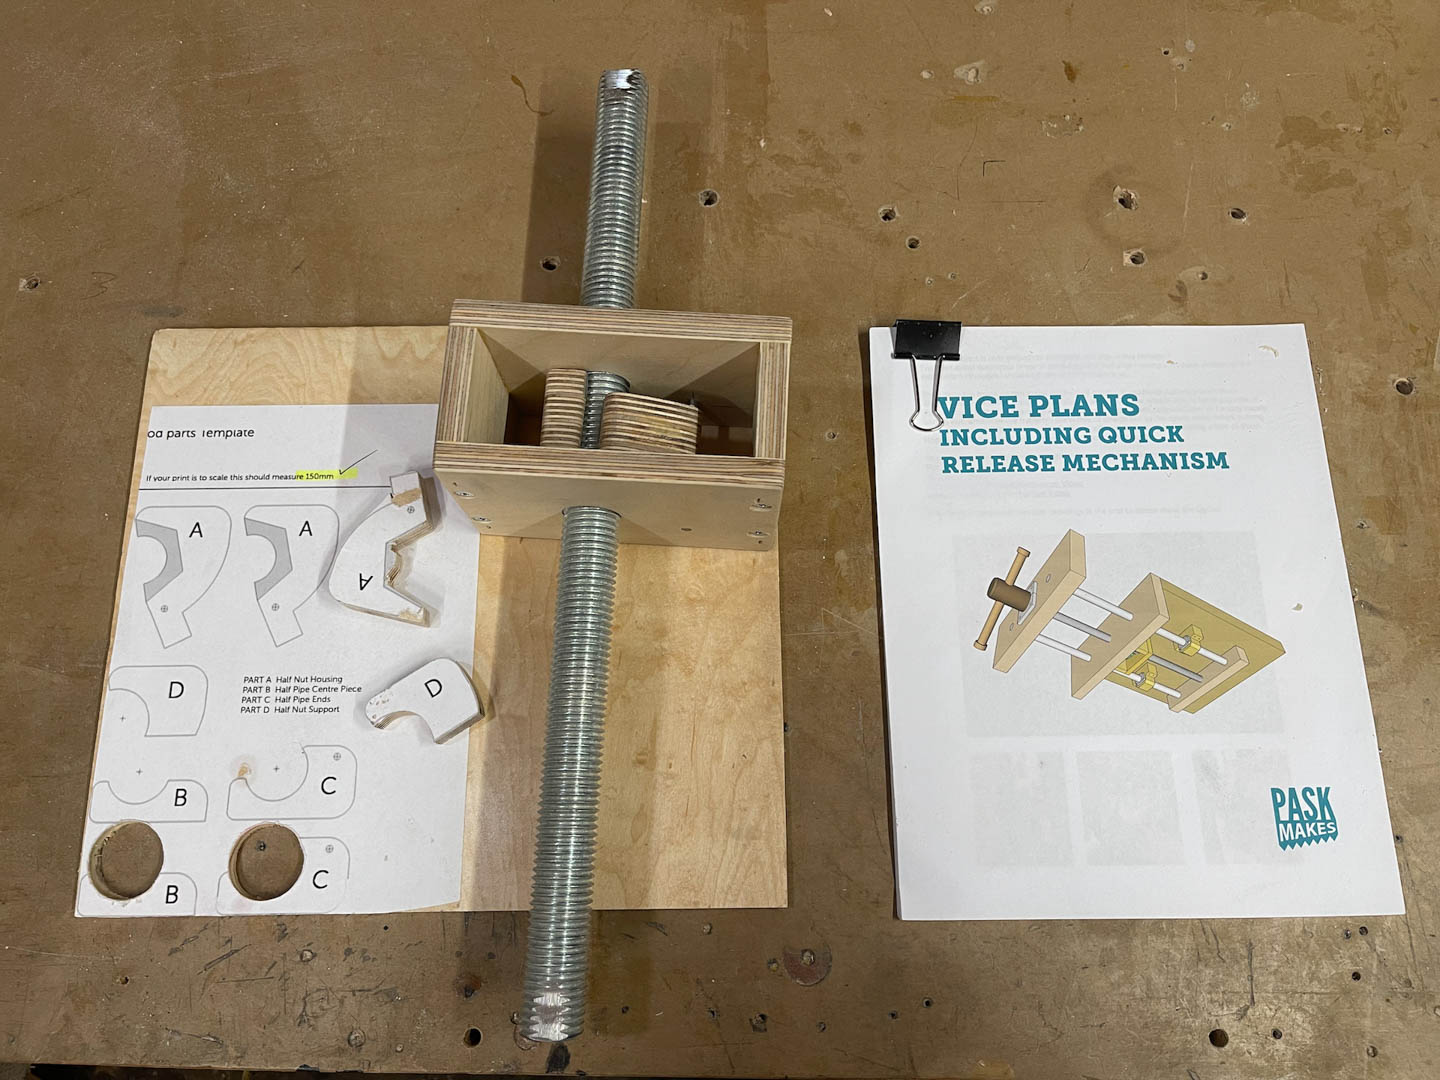
The design of the gripping mechanism is amazing. Made of wood, it grips the threaded rod with a steel nut sawed in half. When you rotate the rod clockwise the mechanism grabs the rod within one revolution and begins closing the vise. To release the vise rotate the rod counterclockwise 1/2 turn and the mechanism completely releases the rod so you can slide it in or out as needed.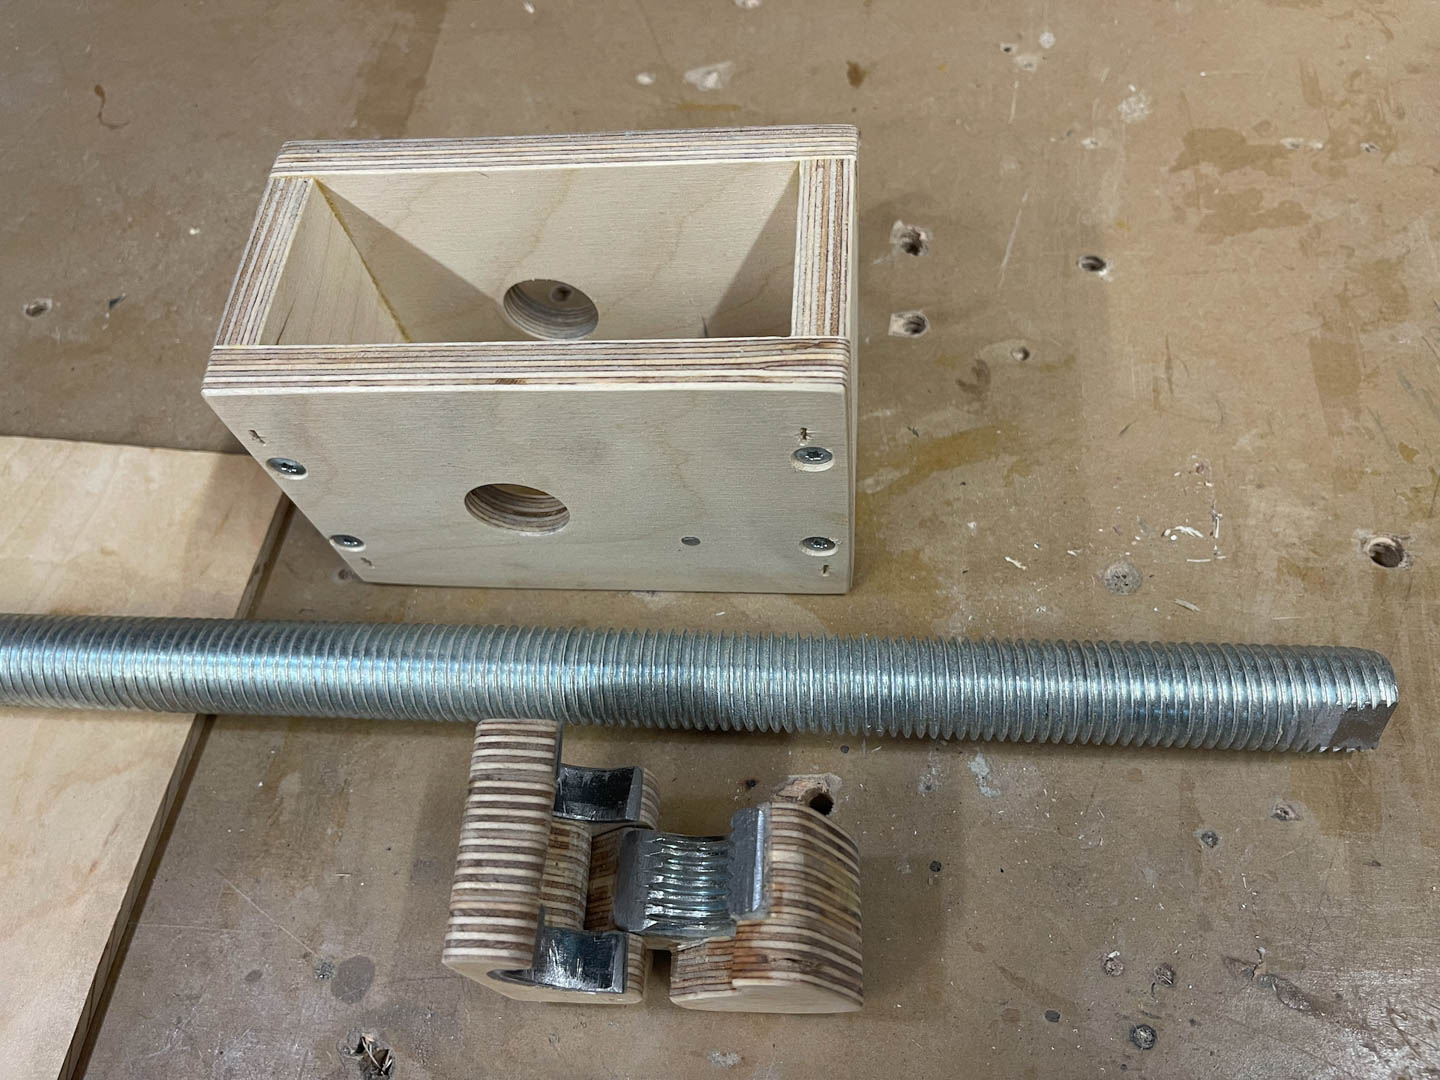
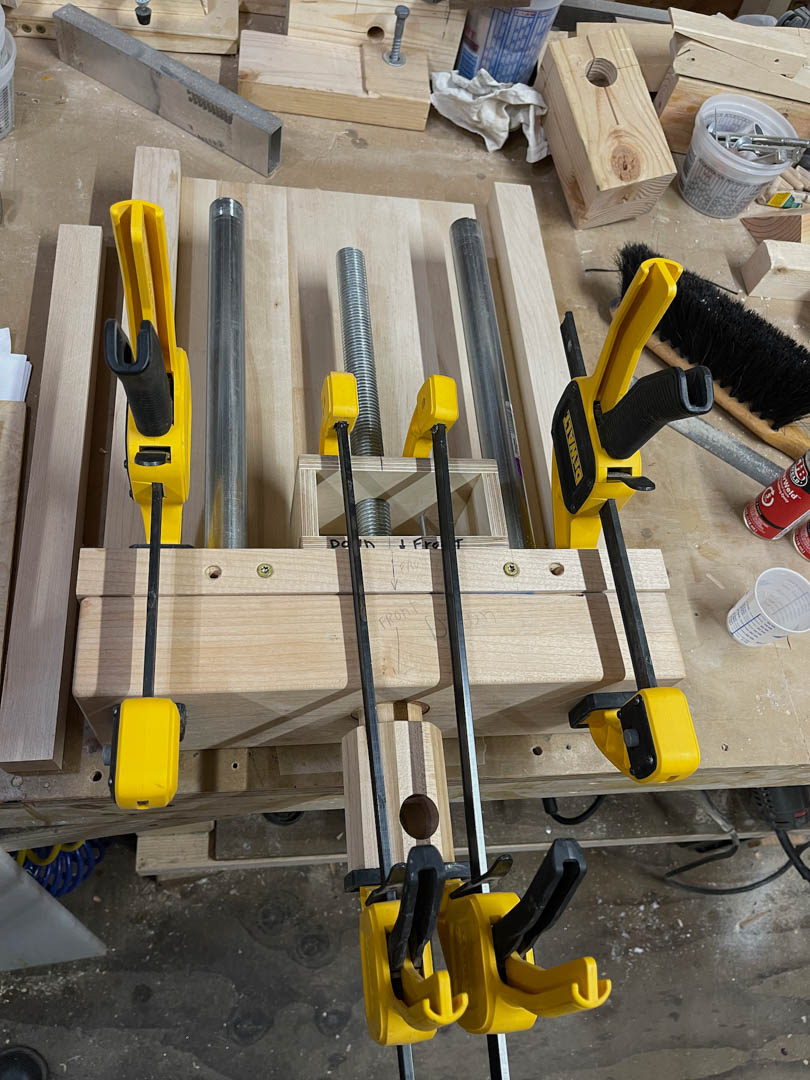
It was surprisingly simple to build and worked perfectly on my first attempt. The next step requires that I start building the bench that goes with the mechanism. So I got a bunch of rock maple from Colin and here is the first glue up.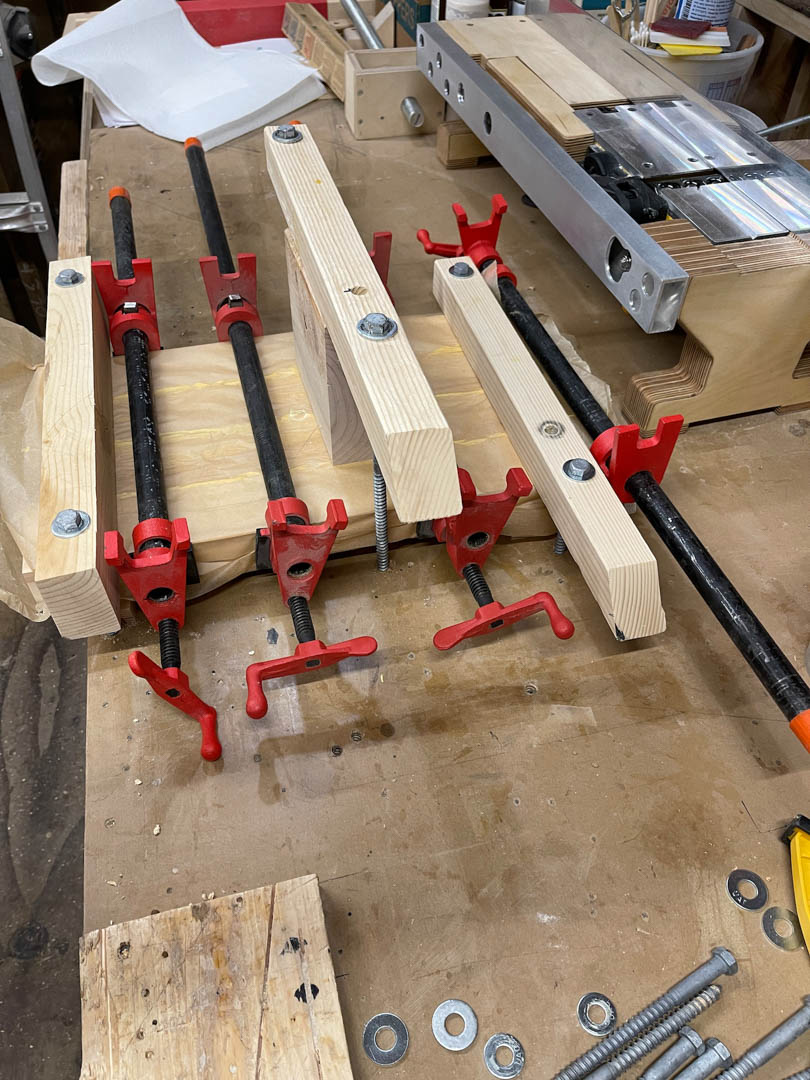
Then I added the two outside pieces.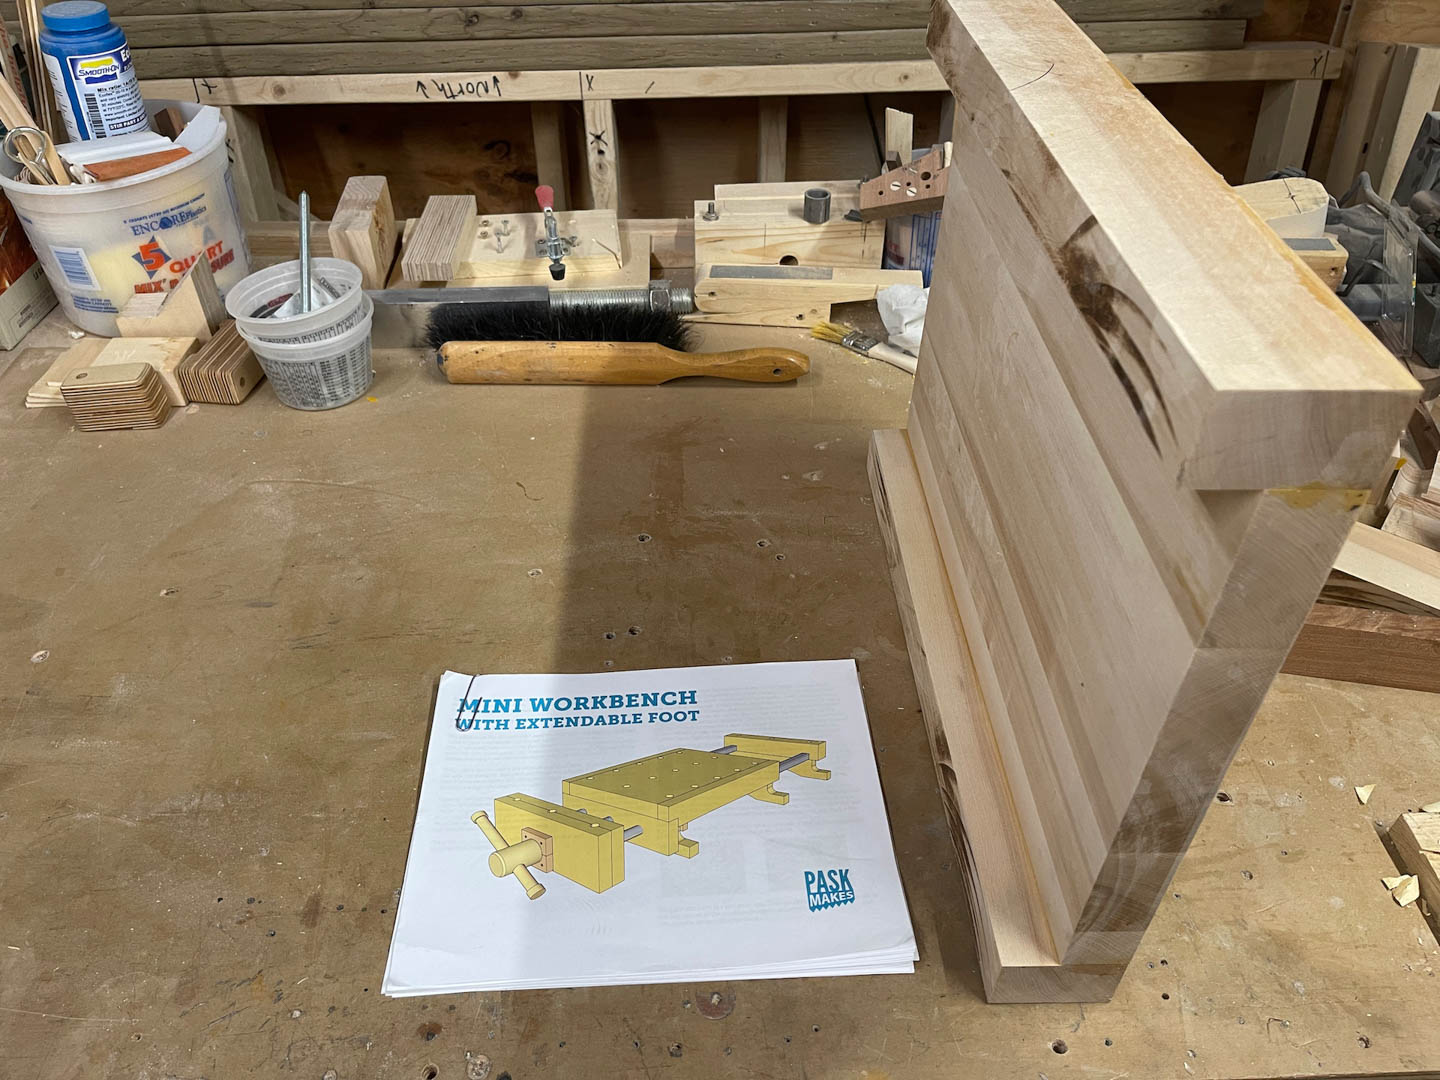
Next is the fixed and moveable jaws of the vise and then I can begin mating the bench to the vise. The plans call for turning the vise handle on a lathe. Not having one of those and also not wanting to try it on the drill press, I glued up some pieces of the maple and sliced them up on my miter box saw. For the parts that had to be round I cut the bulk on the miter box and finished them with chisel, file and sandpaper. I’ve got a local turner working on the 1″ dowel that will be the handle. 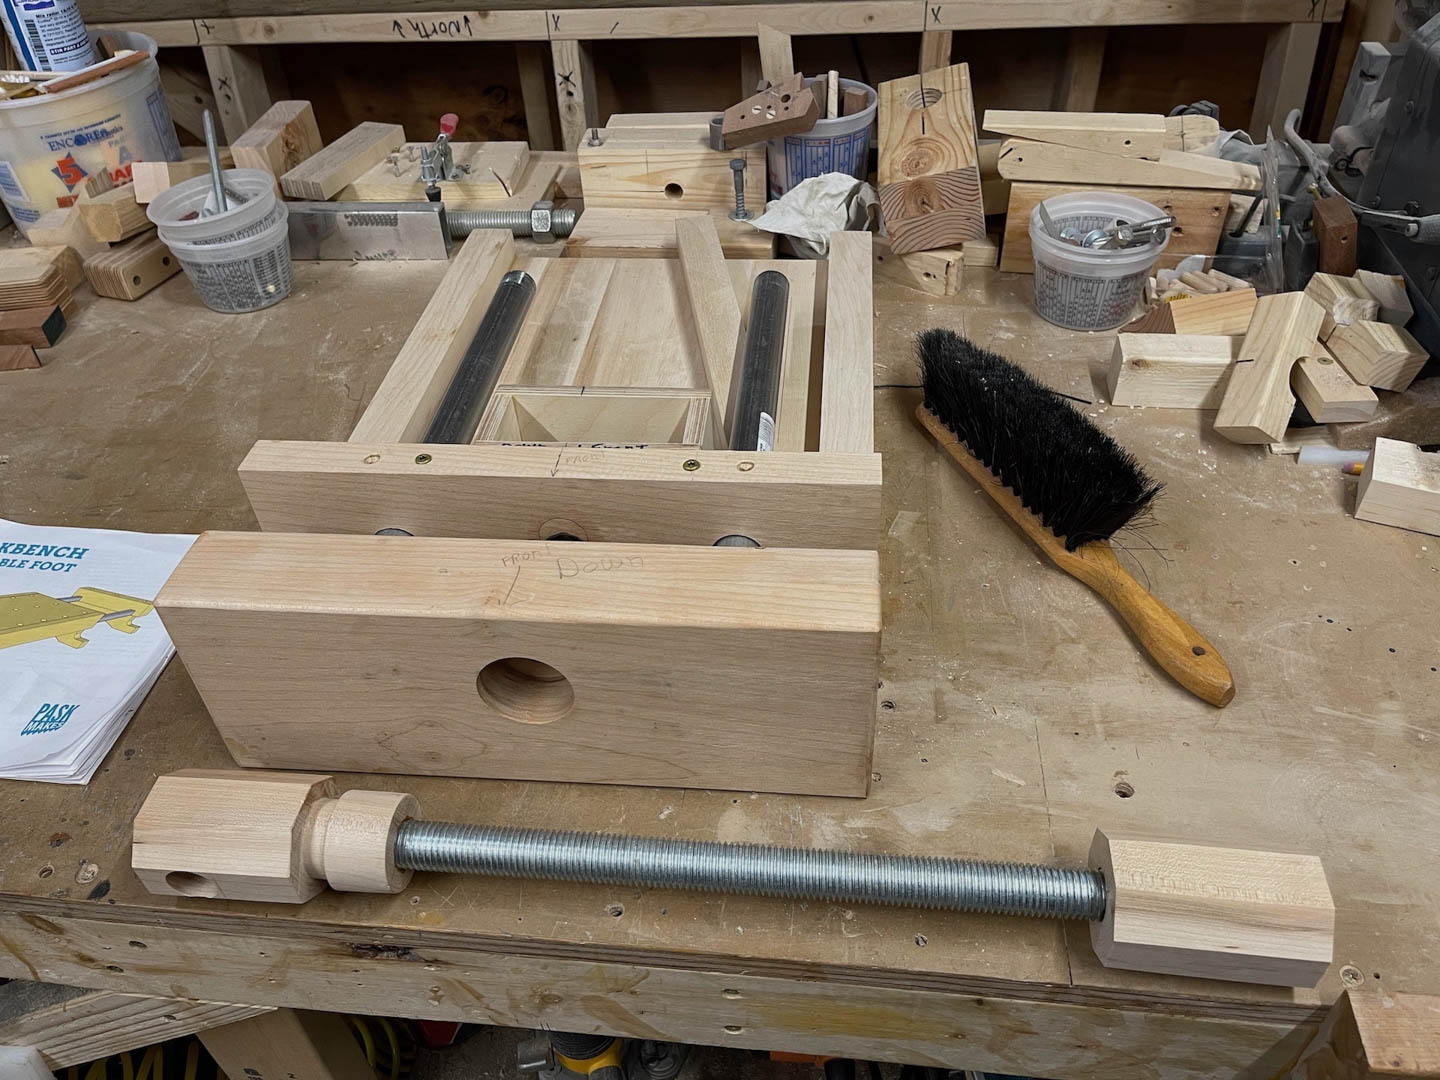
Note: The octagon piece on the right is not part of the build. It is extra and might get used in another project.
So far, the hardest step has been gluing the handle onto the threaded rod. Its long axis has to align perfectly with the rod and it has to be very strong as all the clamping force is trying to pull it apart. It took two attempts with 5 minute epoxy but I finally got good alignment. The strength problem is solved by drilling the handle and threaded rod and epoxying in a steel pin. Here’s the final glue up. It went very well.
Meanwhile, I’ve gotten a lot of detail work done; including building a set of wooden tap and die handles for threading the 1″ maple dowel and nuts that will make up the vise handle. But this is long enough for now, so I’ll publish this and get the conclusion out soon.
Stay safe out there.
So far I've reached acceptable proficiency at the following, in chronological order: Silversmith, infantryman/door gunner, helicopter pilot, fireman, carpenter, residential contractor, FAA Air Traffic Control Specialist and crotchety old retired guy. Currently, I'm learning to fly again and that is what this is all about. 7/7/2020 edit: As I have had the opportunity to reflect (old people do that a lot) on my actual proficiency level at the above occupations, I feel adjustments are in order. The term "acceptable" depends on the observer, their own proficiency and experience level. Acceptable to me might be woefully deficient to the master. I think it would be more accurate to claim that I have earned a living wage at all of these occupations but never got rich. Actually, I feel that I have gotten rich at the last one. I have what I need and am profoundly grateful for all of it. The future looks bright indeed, as I have learned to fly again. For that I have all of you to thank. Thank You!
Leave a Reply