Benchtop Jointer
I’m going to make a benchtop work bench. A small (1′ x 18″ which expands to 1′ x 3′) portable work bench that has a nice vise that can hold pieces of wood at a comfortable height for planning, routing or whatever.
I assembled the necessary wood, rock maple in this case, and dove in. I found that I couldn’t get a straight enough edge for a glue up. My small plane and skills just wouldn’t cut it and with this wood you need a perfect edge match for a glue up. The solution, a jointer. My friend Colin, even offered to permanently lend me one of his old jointers. The problem is there is just enough room in my “shop” to stand. No floor space for a jointer.
So I bought a DeWalt hand power planer with an edge guide attachment. I was skeptical about my ability to plane a straight and perpendicular edge with this setup. Turns out I can get a nice and straight edge but can’t seem to get it square consistently. Ever since my cataract surgery I have slight problems with my spatial orientation. Seems that I used to have a sense of plumb, level and perpendicular but not so much anymore. Makes walking more interesting. I find that if I want to a straight and steady path, I’d better pay attention. The old auto pilot is wearing out.
Anyway, it looks like a small stand to hold the hand planer upside down with a built in fence will solve the problem. Shop Fox makes a nice one for $ 414. My goal is to make one for less than twice that (my usual final cost).
I decide to make it out of baltic birch plywood (nice stuff). Of course the local woodyard only has 4×8 sheets 1/2′ thick at $130. This is going to add up. But at least I’ll have some nice scraps left over.
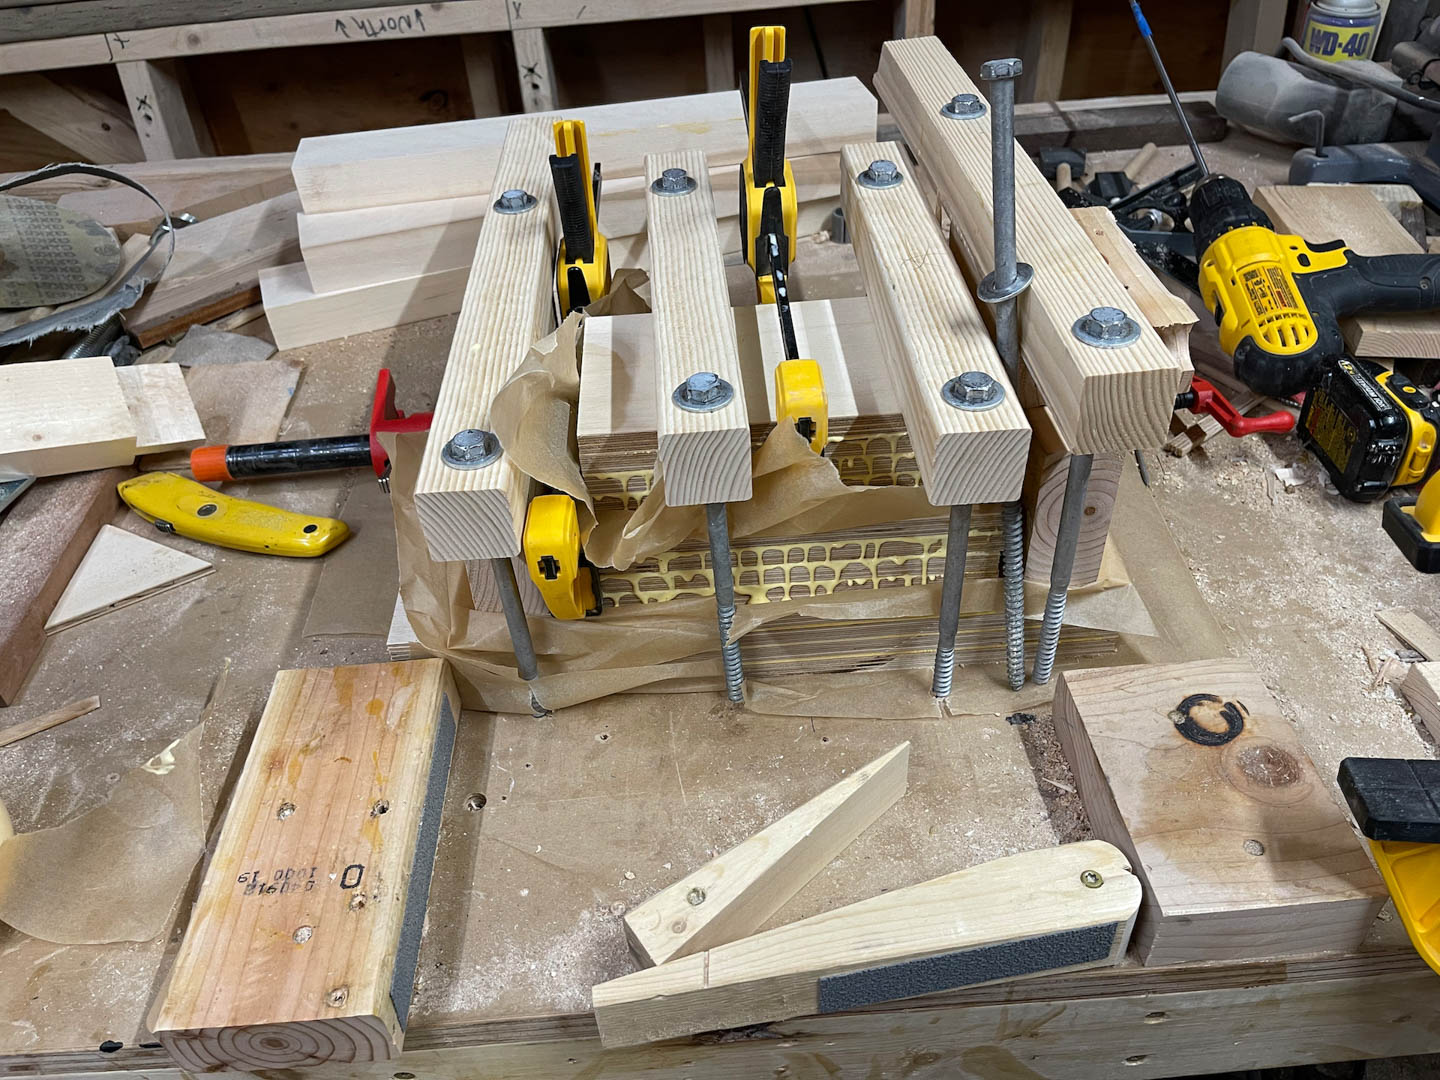
First comes the glue up to make 2″ stock. 1 1/2′ would have been fine, so as usual, 2″ it is. To save time I stacked them up for one glue up of three pieces separated by parchment.
It’s more complicated than it looks. Applying the glue with a paint roller helps speed it up. Assembly tip, which I learned right after this glue up:
Right before placing each layer use 50 grit sand paper rubbed together above one board to put just a few grains of sand in the joint. Then place the boards together, slowly applying pressure while keeping their position exactly. The one or two grains of sand will lock the boards in place while you prepare the next layer and prevent all pieces from sliding around as you apply clamping pressure.
I apologize for jumping right to the finished project but I often get into a bit of manic rush to apply the ideas my mind comes up with to solve the engineering problems involved. Often, if I pause to eat for example, I find myself needing to start the solution process over to get back to my current stage of construction. Sometimes, the original plan gets lost.
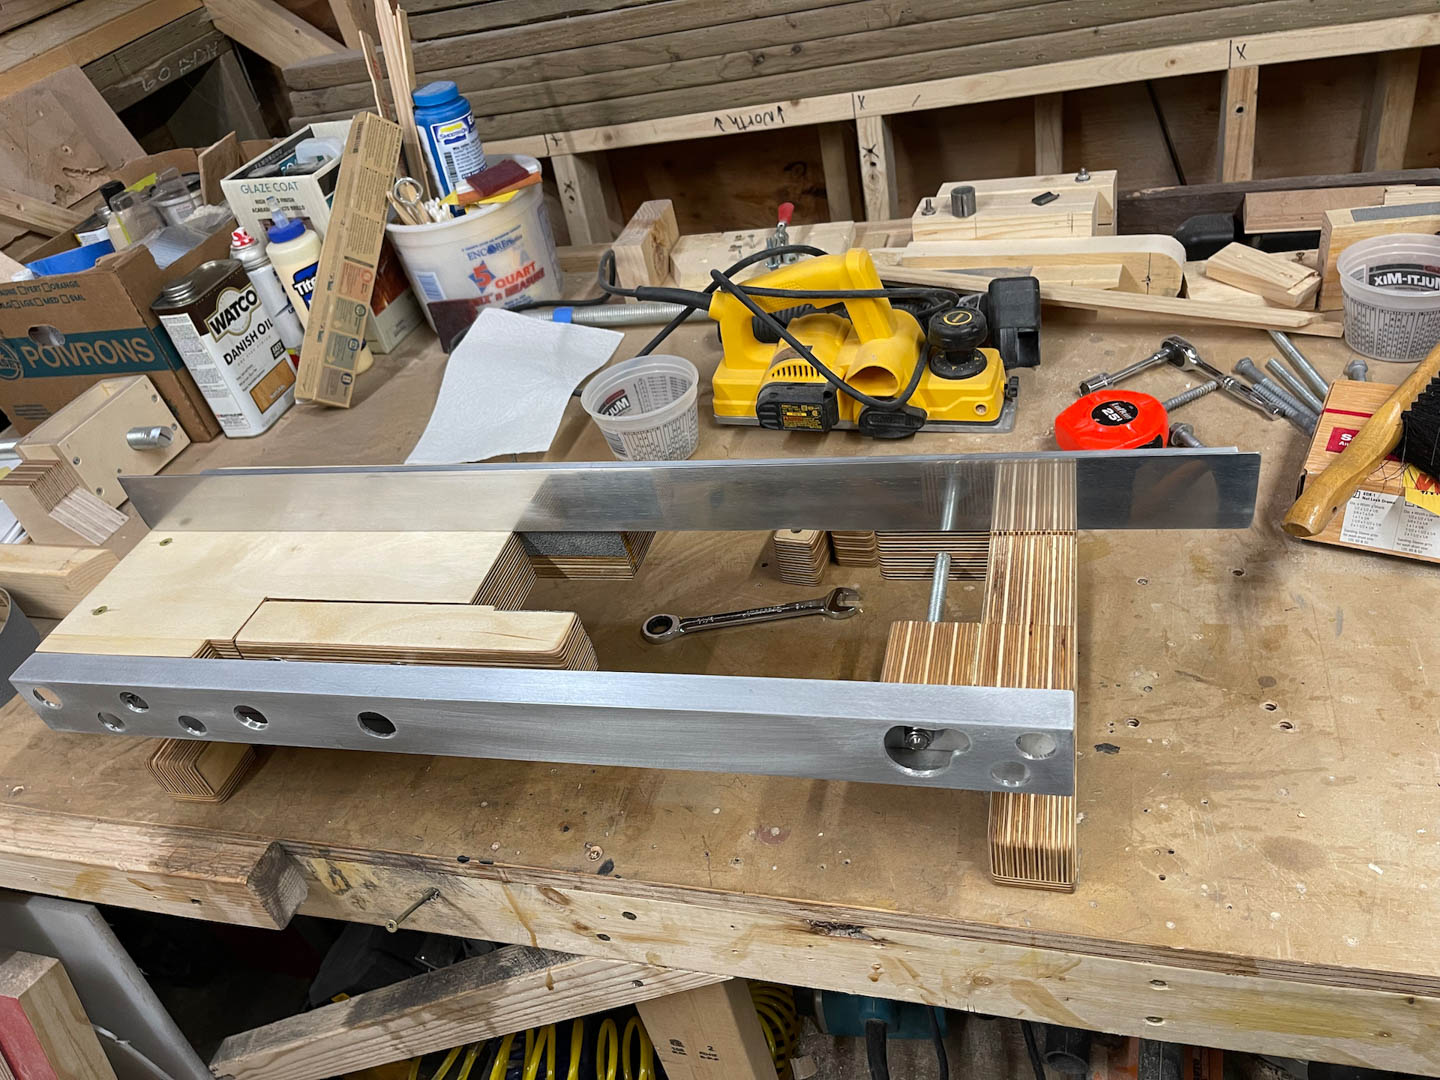
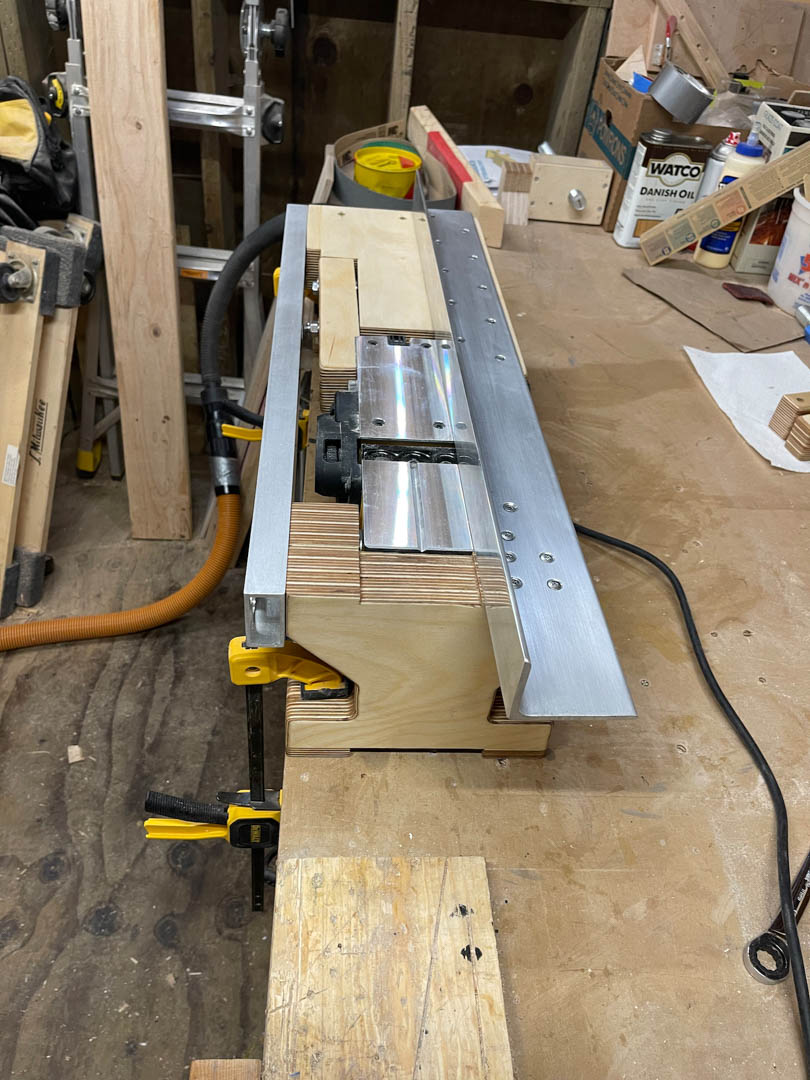
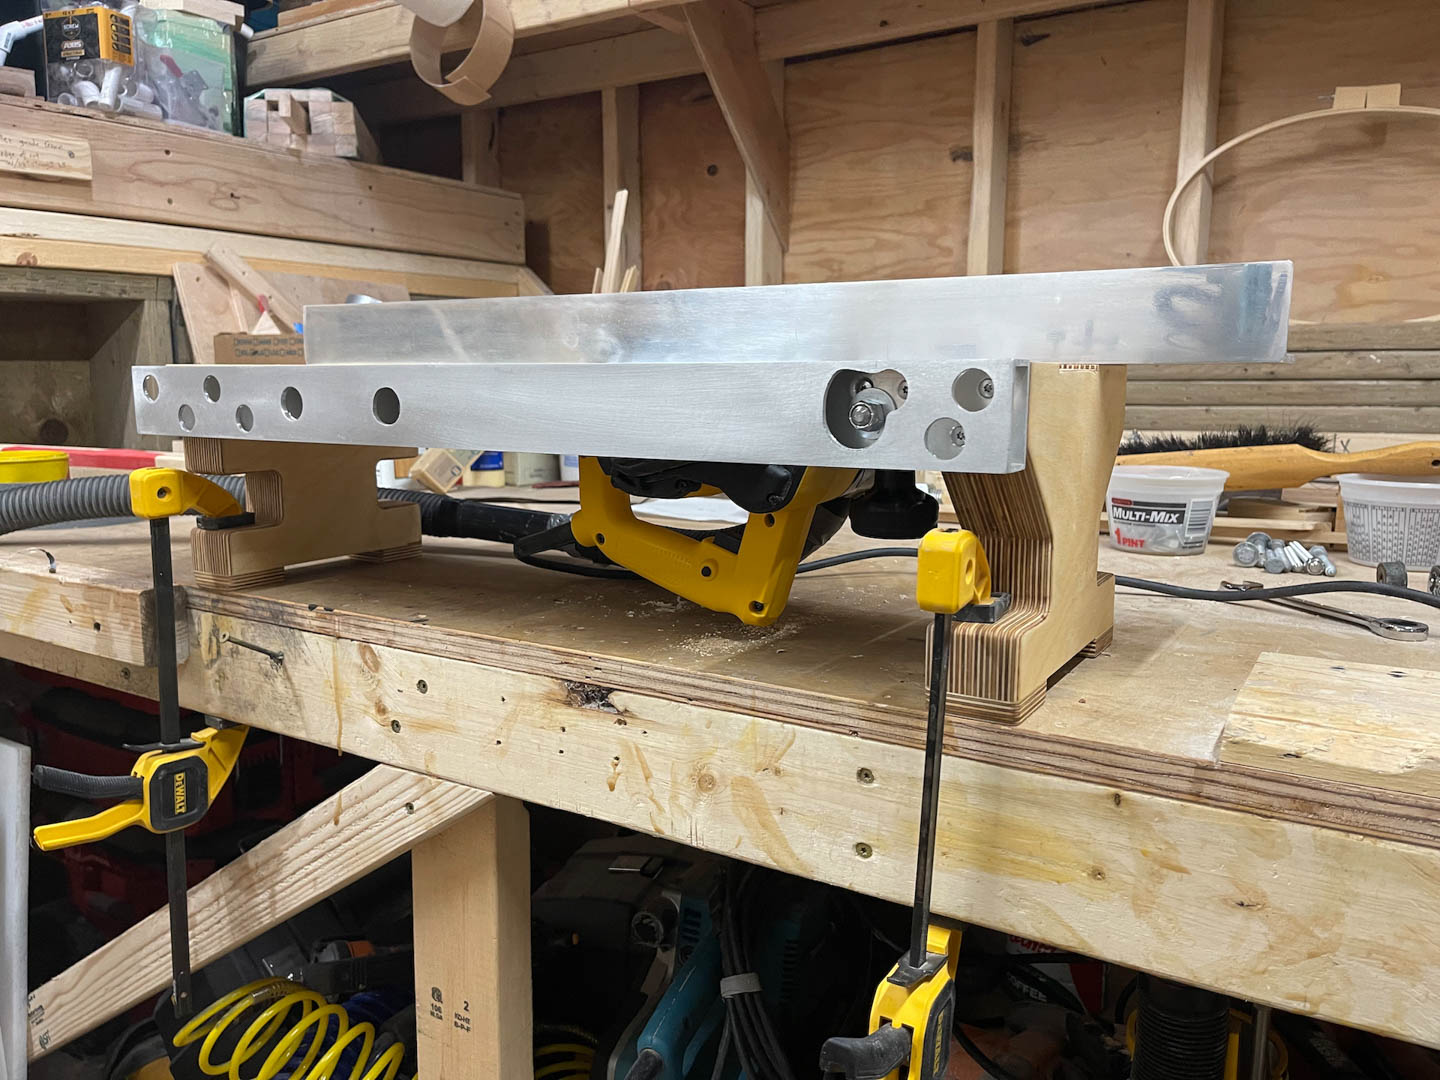
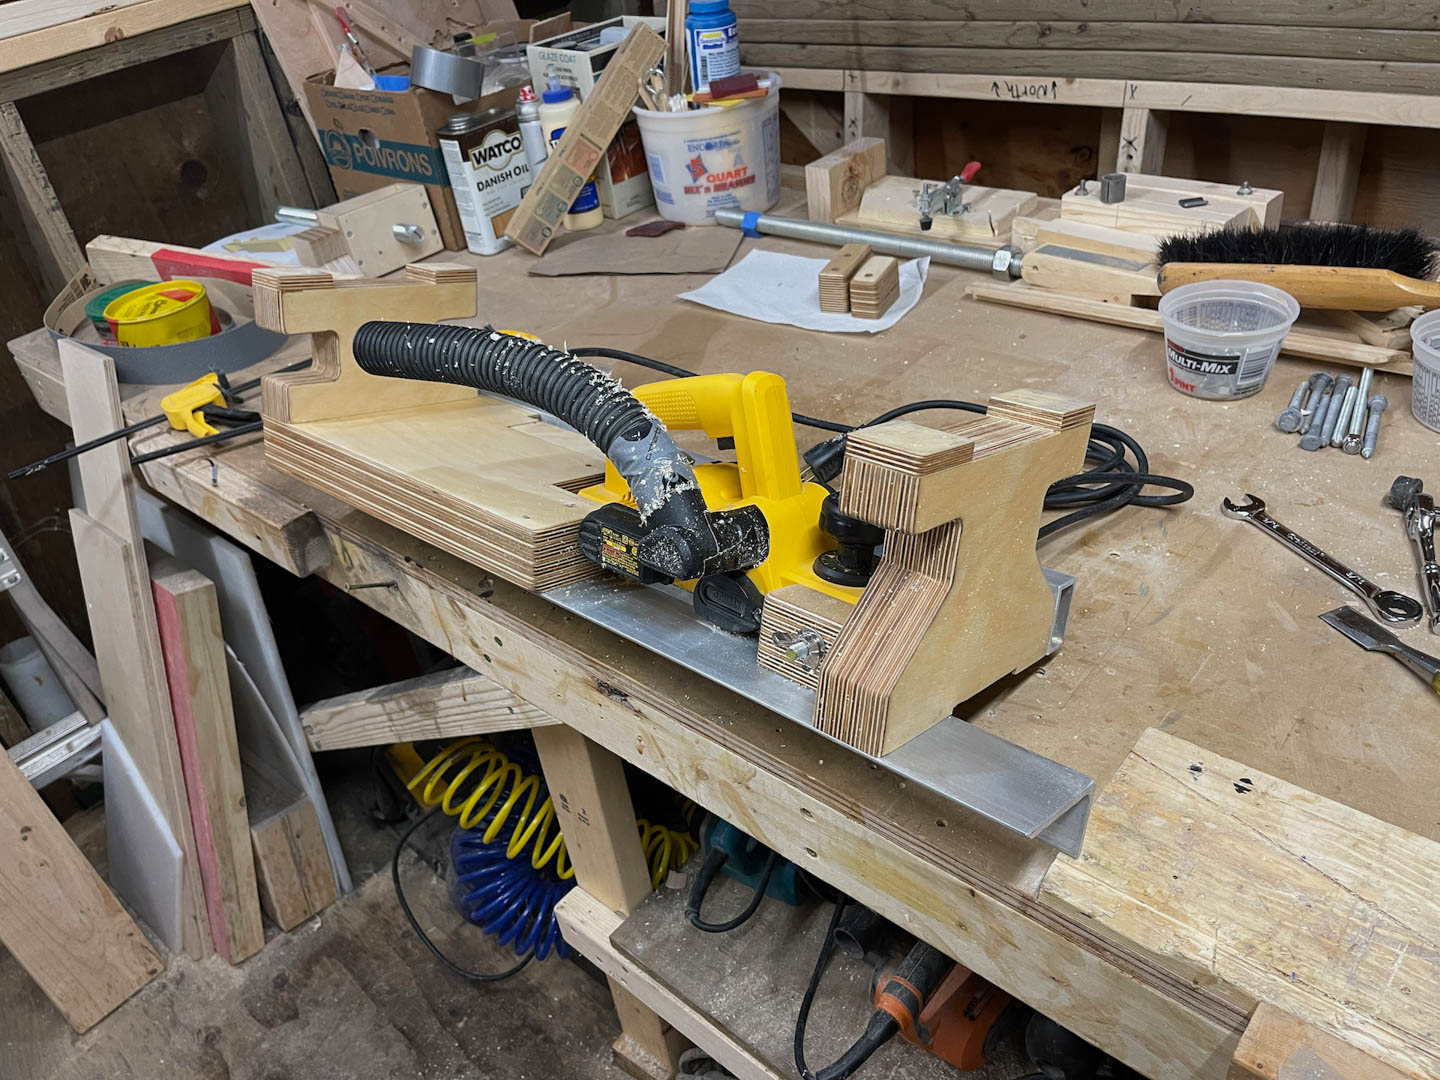
Anyway, here’s the final result. A bit over engineered? Possibly, but us amateurs often go there, just to be sure it doesn’t break if someone parks a tank on it.
I do love baltic birch.
It was a bit frustrating when I found it was producing a slightly convex edge. My local carpentry experts ( Colin and Rock again ) helped me solve that problem. Seems the out feed section was just a few thousandths high at the far end. Problem solved with careful sanding using a 2×4 with sandpaper glued to one edge ( seen in the two middle photos above ).
Now I can get back to the construction of the benchtop work bench. Soon I’l fill up my little shop to the point where I can’t make anything. Next I’ll show you the cool vise mechanism. It is in the background in some of the photos above.
Stay warm.
Troy, it is a work of art. Belongs in an art museum. Absolutely beautiful – classic Troy. Thanks for sharing.