Busy Work
Been watching a lot of you tube video of woodworking. I don’t have enough room for most of their projects but it is interesting to watch other woodworker’s processes. My favorite is Neil Paskin. He’s an Aussie and he loves to make his own tools. Here’s his site: https://www.youtube.com/channel/UCNyGbxoEo6CQvaRVEvItxkA
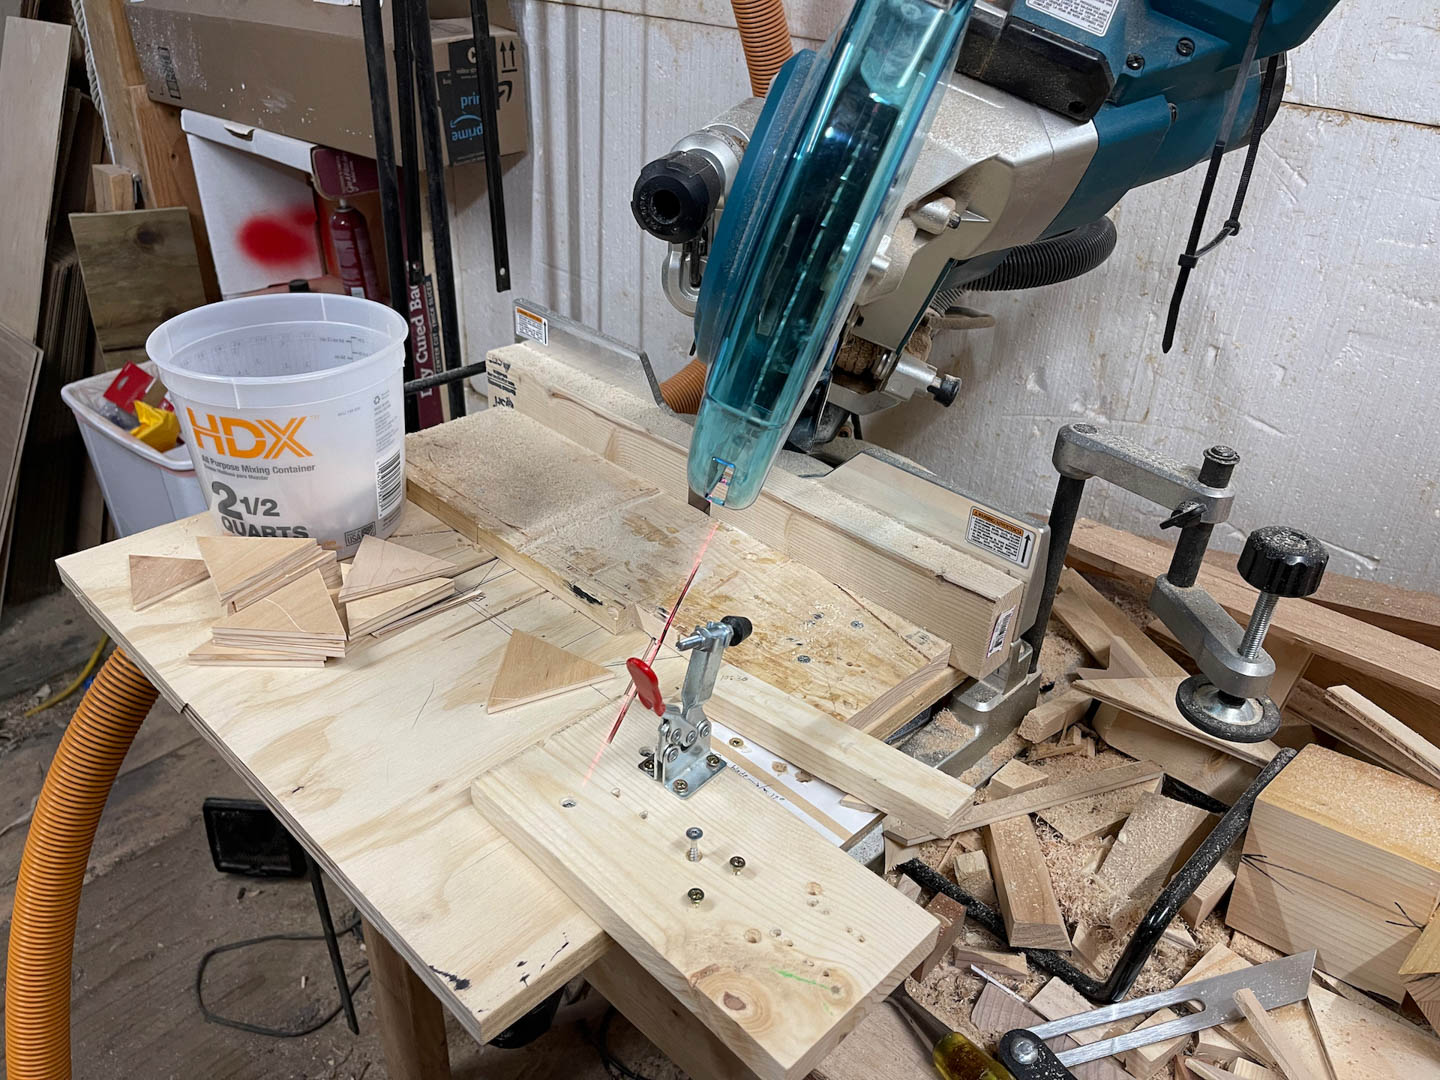
I’m definitely not going to start making videos but I am going to start making tools. The fun starts when you try making something out of wood that is usually made from steel or plastic. First to guess what I’m making here wins an all-you-can-eat day at the Wild Honey.
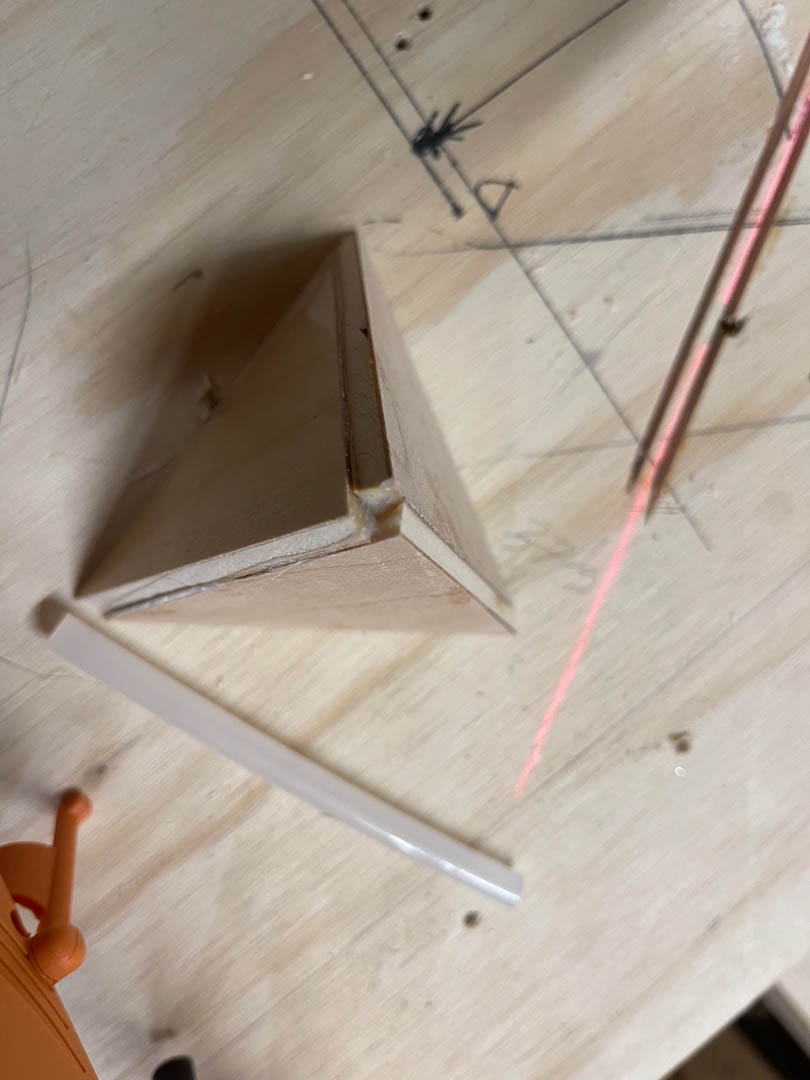
Not enough data? OK, how about now.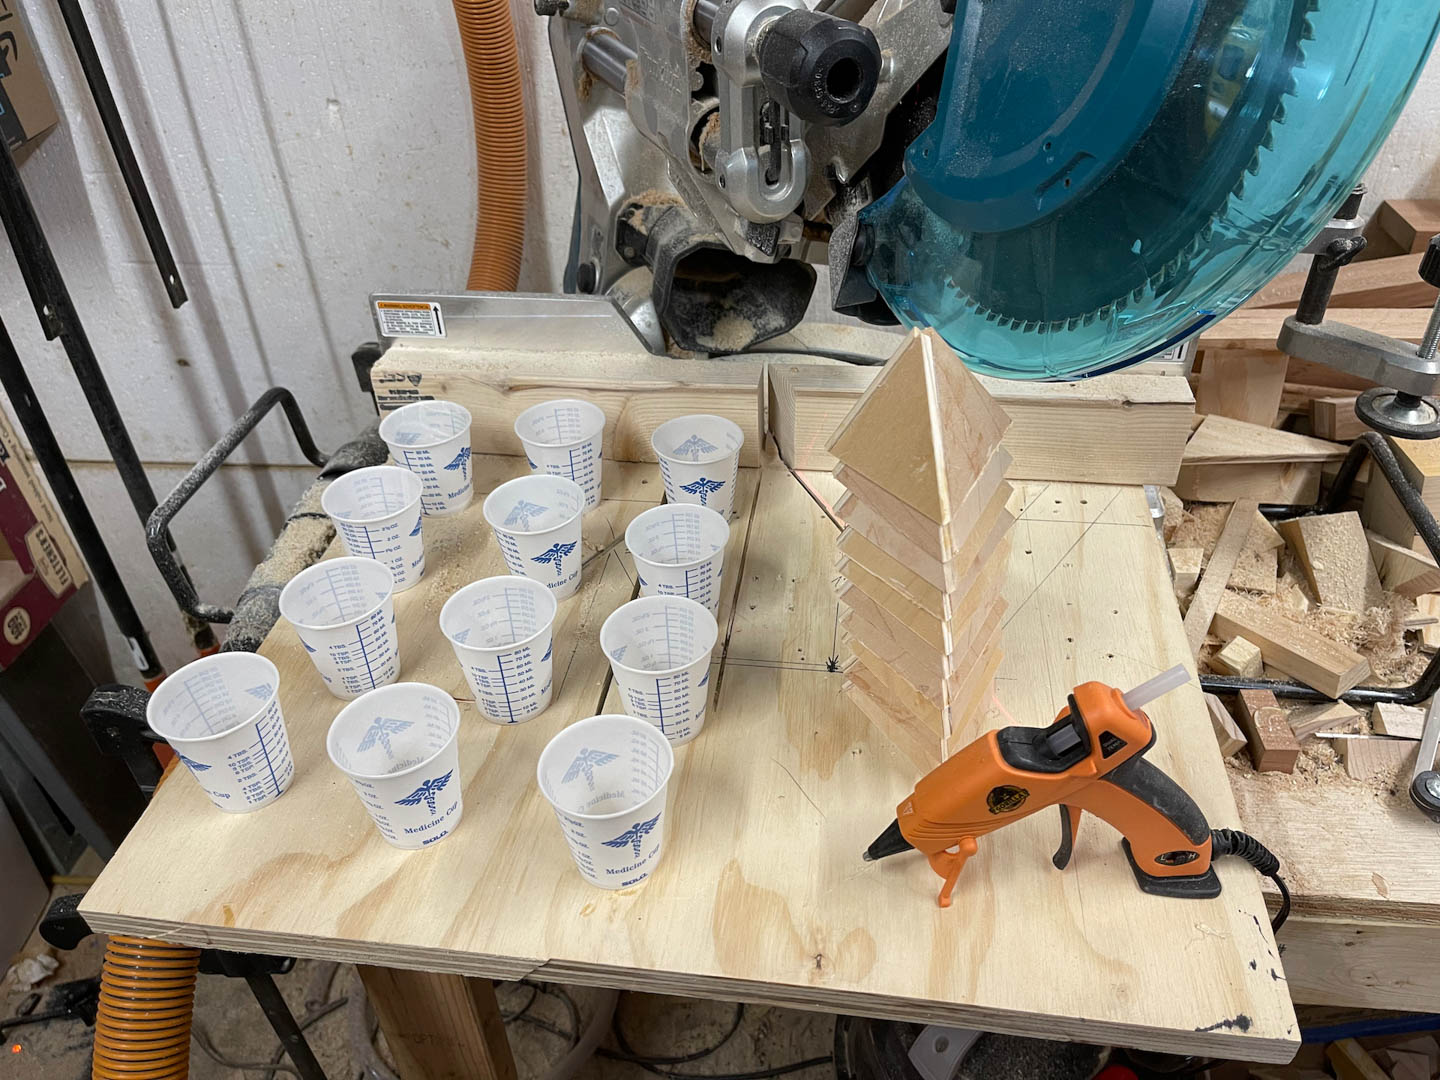
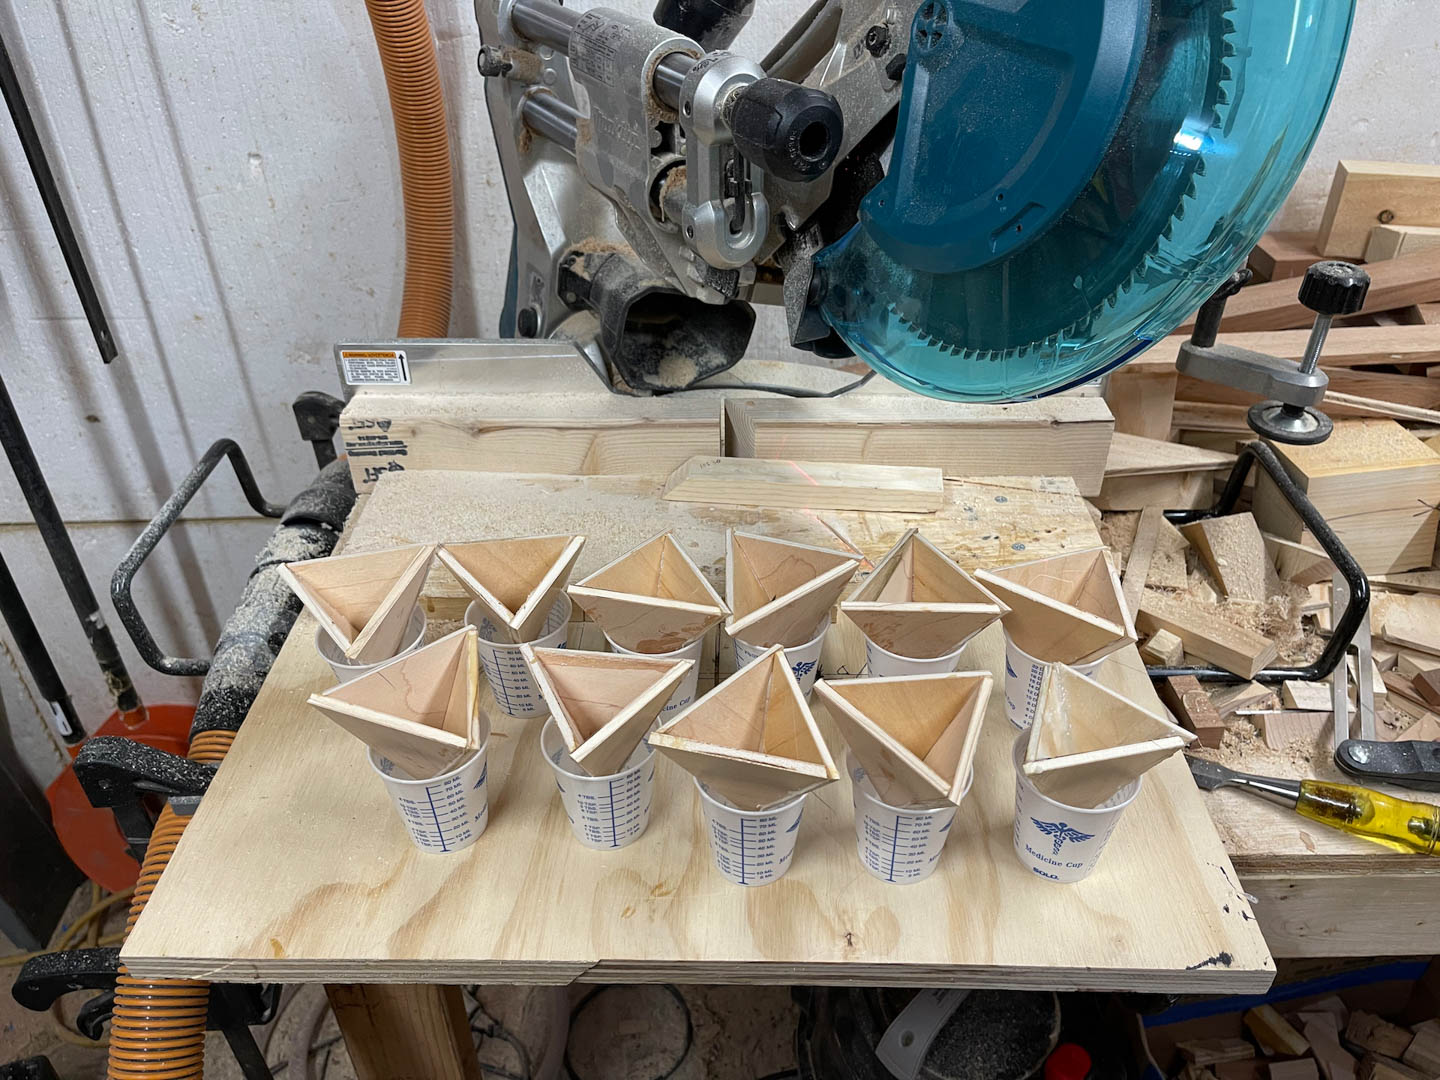
This is the finished tool. At least for this attempt. there will be revisions.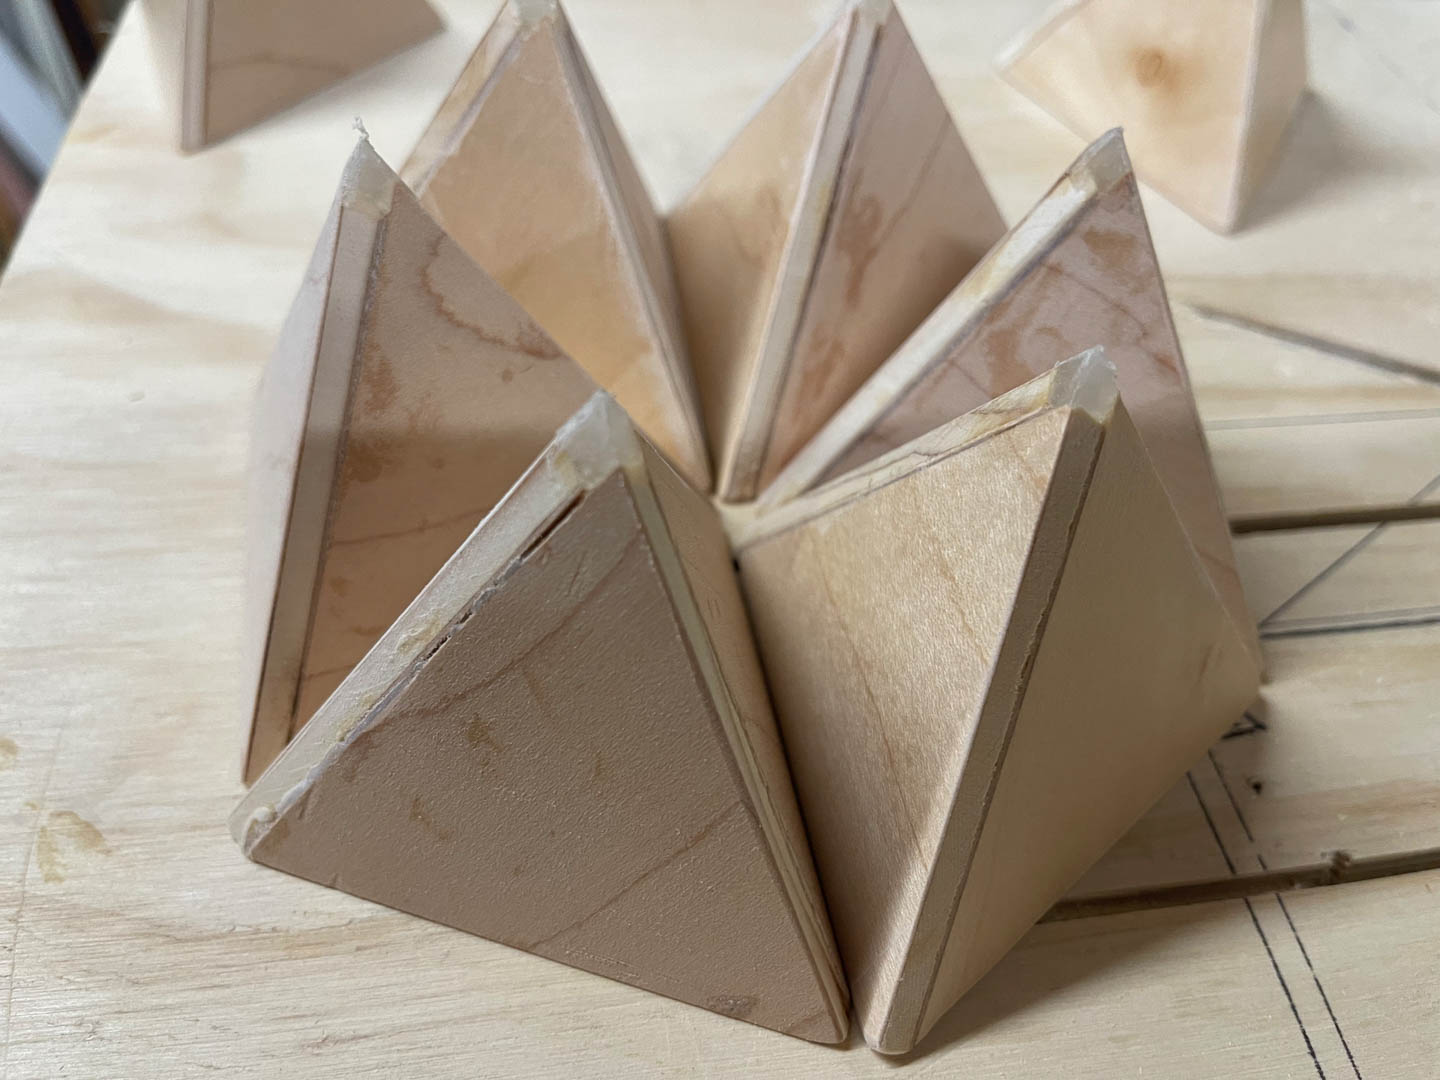
Already working on paint tower mark 2.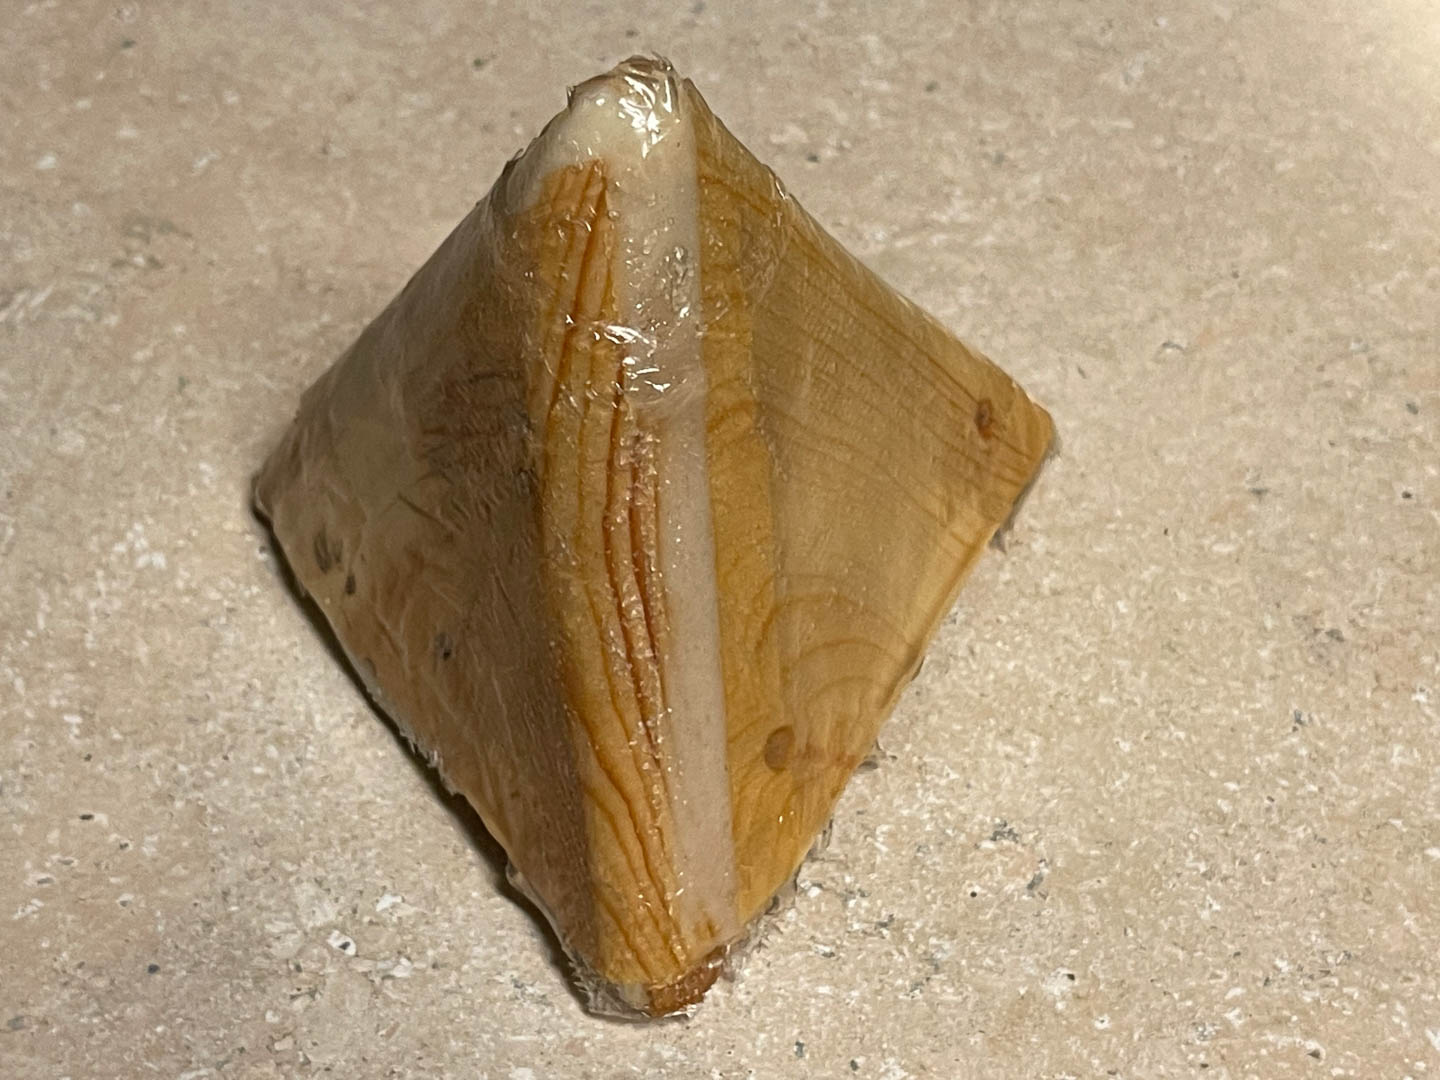
As usual, this is not the tool but a mold for making many more. This project continues and evolves. I’ll come back to it later.
Meanwhile, I’ve finished a new tool. It started when I realized that I often need dowels made of various hardwoods and they can be hard or impossible to find. A Pask Makes video inspired this.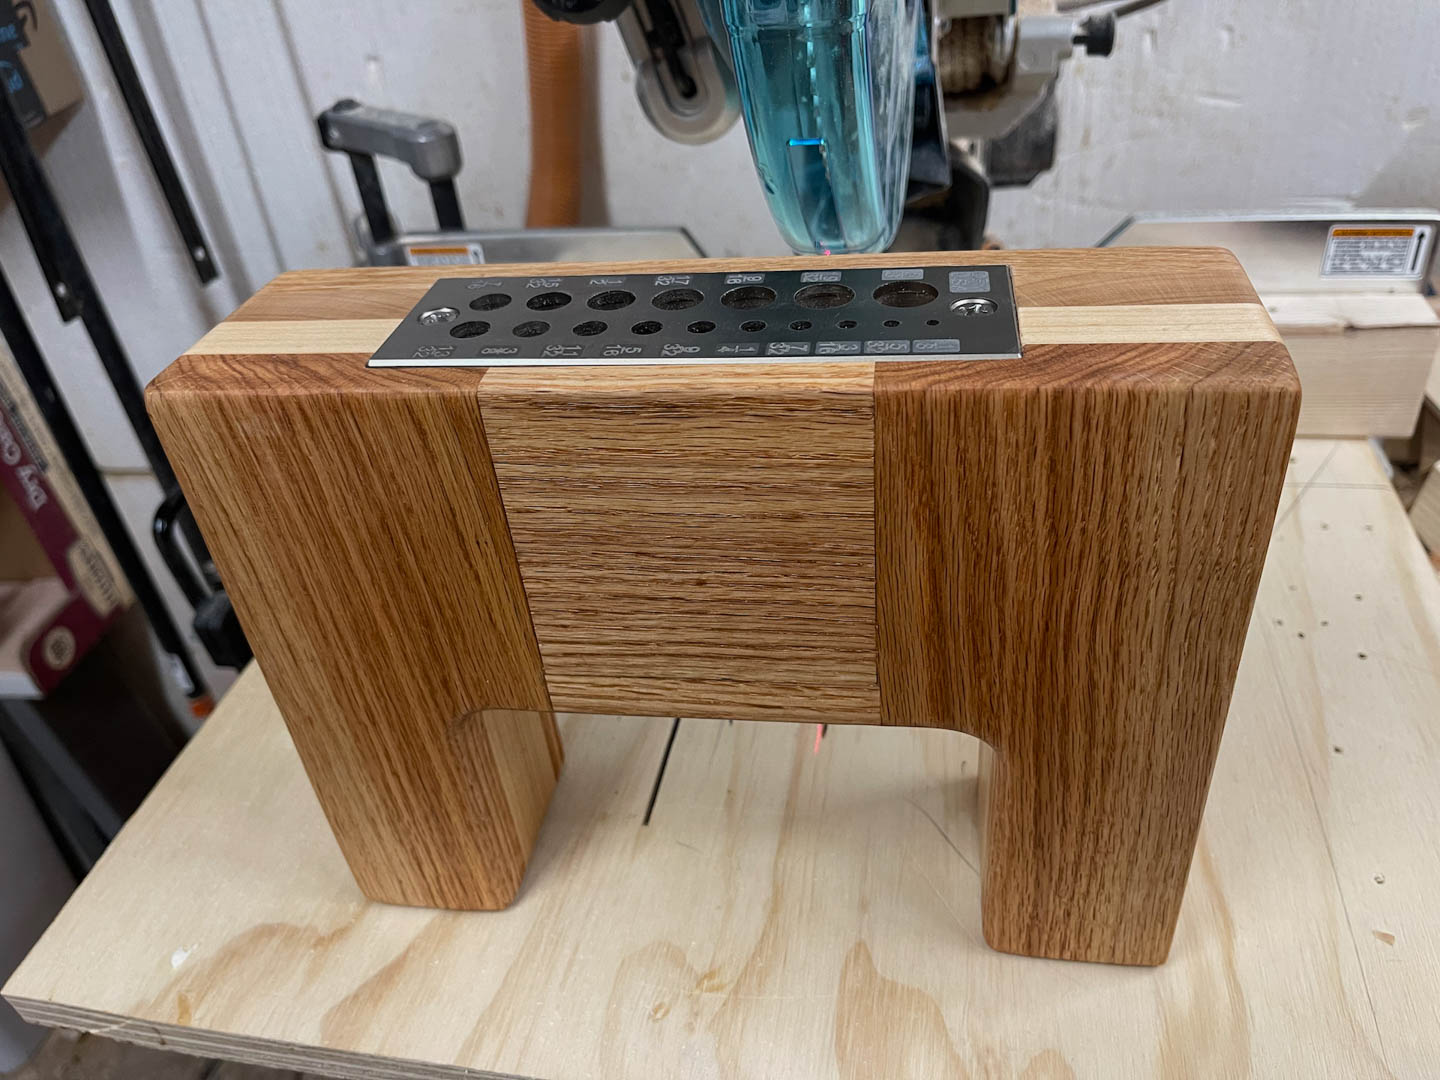
He makes most of his projects from some really exotic scraps. I used some left over oak and maple. To use it you cut pieces of wood with the grain and a little larger than the desired dowel. Then whittle one end down like a pencil and pound it through the steel plate, using smaller and smaller holes until you are one hole larger than the exact size. Then chuck the piece up in a drill and sand it down to the desired size. With some woods you can also chuck it up in a drill and just spin it through the holes. There is a great demonstration on his video about making the tool. Here’s the link if you are interested: https://www.youtube.com/watch?v=-CG1XO08ByA&t=27s
He makes his own steel plate but I gave up after one attempt and bought the plate on line. Here’s a top view. Under each hole in the plate the wood is drilled out to a slightly larger hole. This is to support and keep the dowel aligned as it emerges.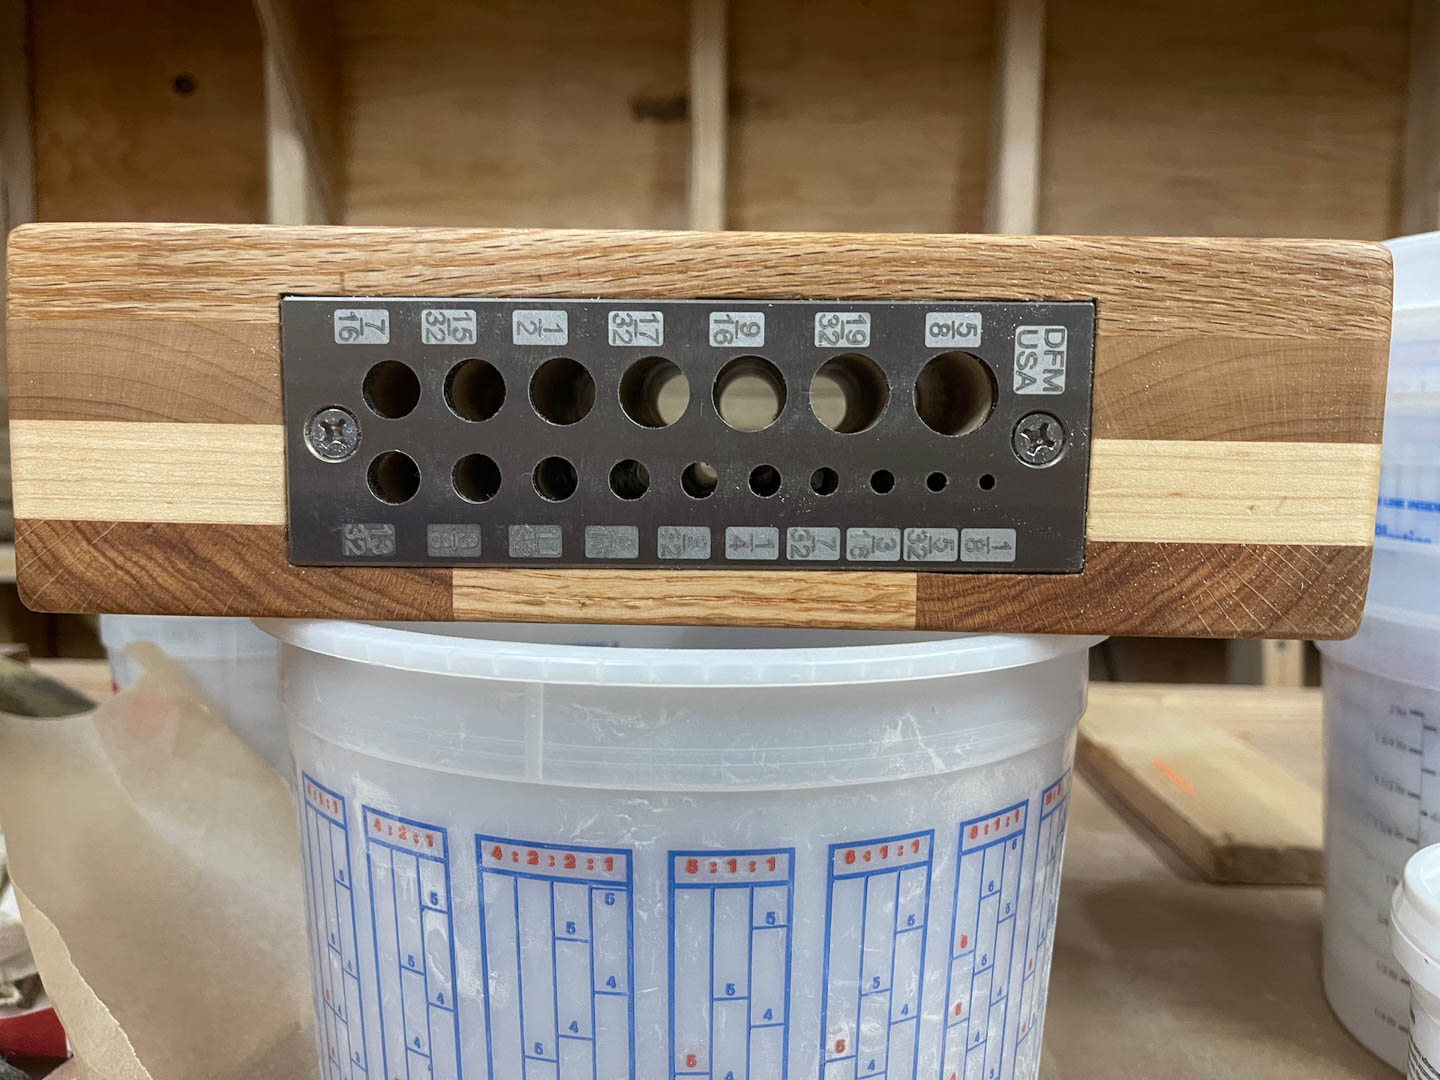
I tried it out and found out why his design evolved to the current version. I used some black walnut scraps donated by Colin and found that you really have to pound on it to get it through the first few holes. We are talking 3lb sledge on a concrete floor.
Here are the results at 1/2″ .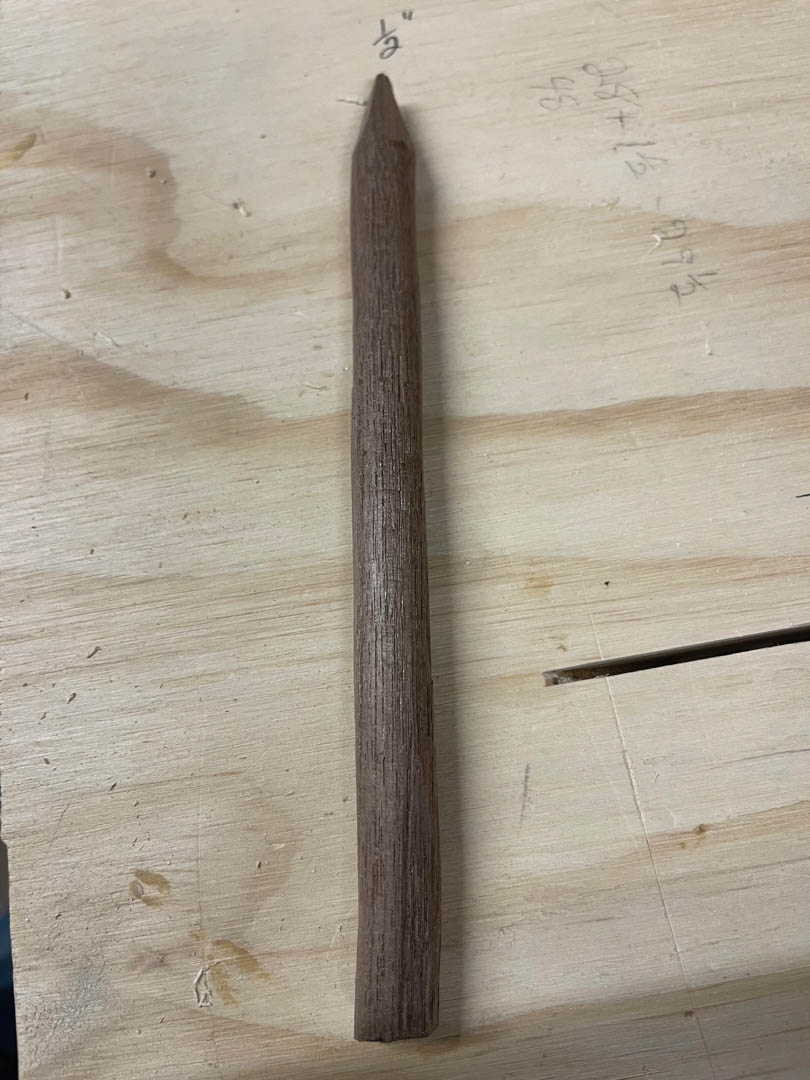
Usable but not the straightest. So I switched to the drill method to take it down to 3/8″.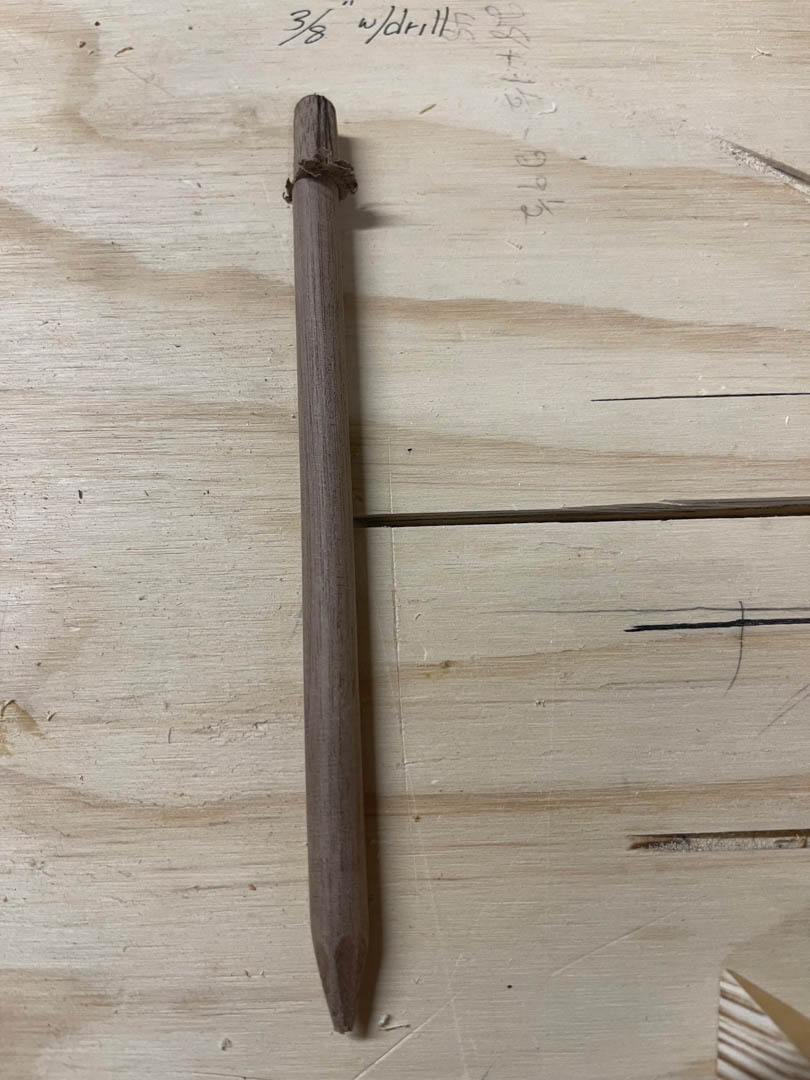
Much better. I had to try a fit with two of the drill bits I use, a forstner bit and a brad point bit. The forstner bit makes a slightly smaller hole than the brad point bit. I didn’t try any steel bits.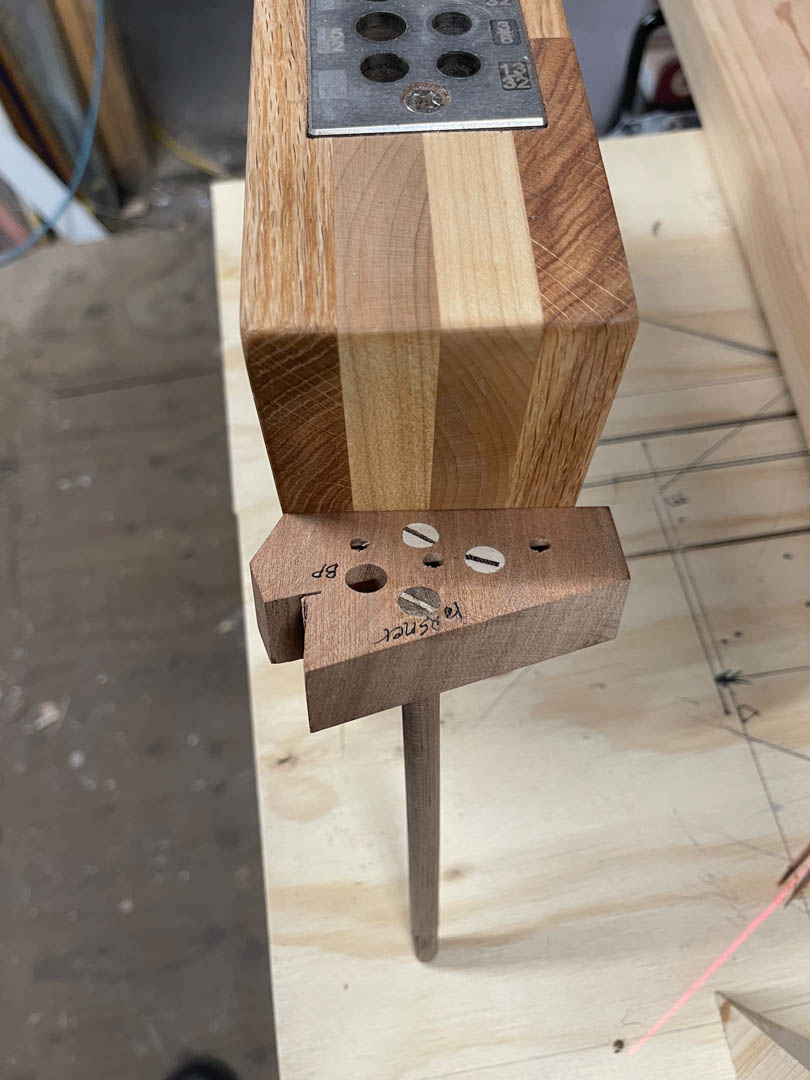
The dowel was too loose for the brad point hole so I glued up and wedged using the forstner bit hole. Worked fine but I’ll probably stop one hole larger and sand down when I want the best fit.
Making tools is quite satisfying. I’ll have to try a plane (wood, not aircraft) next.
Snowing today, so the weather is perfect for it.
Stay safe and warm.
Leave a Reply